Hello Beekepers!
Hello all and apologies for the delay in posting this. May is such a busy month both in the garden and the apiary.
I’m tempted – very tempted – to mow the lawn. However, on inspection, the grass is full of flowers – some may refer to them as weeds! I’ll mow later! Of all the months in the year, May is the one that shows our countryside at its resplendent best. The nakedness of the winter landscape is replaced with beautiful shades of green. Everything is fresh and new.
Buying Your First Colony
For those of you who are buying their first colony, here are some of my suggestions:
- Buy from a reputable supplier.
- Do not import bees.
- I choose the Native Irish Bee to be the best.
- Check with the supplier: Is the queen marked? How well developed is the colony. What medical intervention are the bees used to?
When you collect your hive/nuc it should be secured with a hive strap or ratchet. The entrance should be closed. Most nucs/hives nowadays have mesh floors which provide adequate ventilation while being transported.
Transportation is best done in the evening time if possible. When placing your new nuc into your car boot, make sure that the frames inside are parallel to the direction you are travelling in. This is very important because it avoids squashing bees – worse still, maybe squashing queenie. Yikes!!
On arriving home, I place the nuc on the stand and face the opening towards south or east. Unblock the entrance, leaving them with access to the outside, but I wouldn’t open up the entrance fully just yet. They are only a smallish colony and cannot defend themselves from intruders as well as an established colony can. Depending on the weather, etc., you could open the entrance fully after a few days. Your supplier will probably suggest to you when they need to be transferred into a full-sized hive.
The Busy Month of May
May is such a busy month as the hive population increases dramatically. I’d really love to know the conversations taking place in the hive at this time of year.
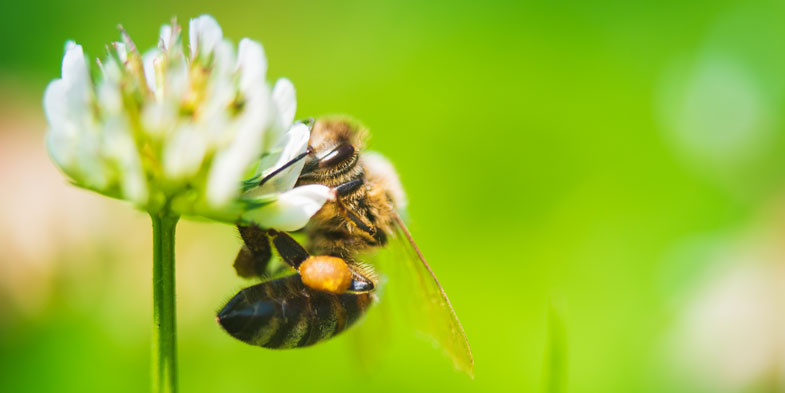
- “We need pollen. Go out and get it!”
- “We need nectar.”
- “We need water.”
- “Oh no, that dreadful person in the suit and veil is tormenting us again.”
- “Maybe we’ll swarm. That’ll ensure our continuation and really torment that human who’s always interfering.”
- “Maybe we’ll oust her majesty. She’s past her sell-by date and not fit for the job.”
I keep stressing the importance of the Hooper 5 checklist. Now is a time to be vigilant about ensuring that they have adequate space and add supers accordingly. The primary reason for supering is for honey storage and congestion relief. But, there’s even more to it than that.
The more space the colony has, the easier for the bees to ripen the nectar. Remember, nectar occupies about three times more space than honey. If the bees have restricted space for storing their goodies they become DISCOURAGED from foraging and that’s not great for the eventual honey crop. Researchers agree that the existence of empty combs stimulates foraging behaviour.
Supering needs to be done in a timely manner, and I would suggest that you have three supers available per hive, to be added when necessary. Last year, however, we needed many more but unfortunately, this isn’t the case every year.
Giving the colony space certainly inhibits the swarming urge a little BUT it’s totally natural for them to swarm. There are so many reasons, some of which I’ll write about in later posts.
Swarm Control
So many times beginner beekeepers find queen cells and panic, going on to break all these cells down. You must find the queen first because, on your next inspection, you may realize that she must have already left before the culling of cells and therefore your colony is now queenless.
So, if and when you find queen cells (by the way, this is totally natural), you locate the queen and cage her, maybe by using a queen catcher or a crown of thorns. You now have time to think.
You’ve been bombarded with some methods of swarm control in the last while. Apologies, but it’s necessary to know at least one way. With practice and understanding and yes, making mistakes, you will become more confident and better able to master a technique. Even the most skilled and experienced beekeepers lose swarms, so that should make you feel a little better. Remember, swarming is a natural impulse and, as you probably know already, the bees can outsmart us so many times. I love this as it constantly reinforces the power of nature and puts me back into my box when I start thinking that I know better than the girls.
For beginners with one or two hives/nucs, maybe you’d like another colony? Taking into consideration winter losses and mismanagement of colonies, it’s certainly nice to have a backup.
So, you see queen cells and you’ve located your queen (now you see the importance of having her marked). What do you do now?
The Nucleus Method of Swarm Control
Basically, what you’re aiming to do is to separate the colony. Let the bees think that they’ve swarmed, when in fact the beekeeper did it for them:
- Locate and cage the queen. Remove her and the frame that she’s on and place in an empty nuc. She is probably on a frame that has brood (in various stages of development).
- Into this nuc add another frame of brood, 2 frames of food, and 2 shaken frames of bees (i.e. Pick up a frame from the original hive and, holding it over the nuc, shake the bees that are on it into the nuc.) The aim is that there are enough young bees to care for the developing brood. Make sure to destroy all queen cells on the frames that you’re putting in the nuc. This is really very important.
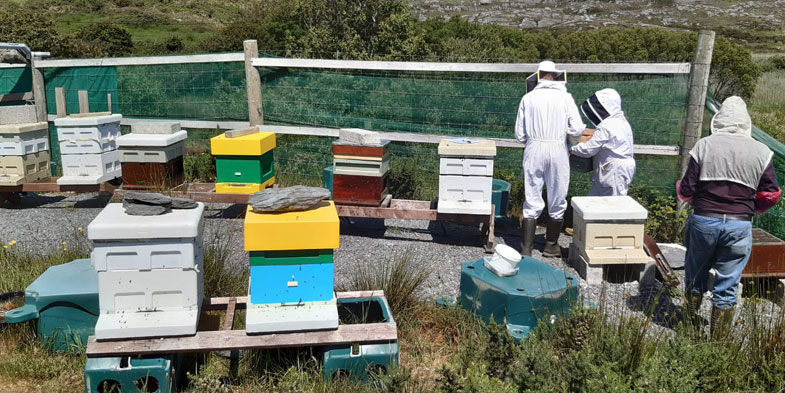
- Keep the 2 brood frames together in the nuc and put one frame of food on each side of the brood frames. On the outer sides, place 2 frames of drawn or undrawn foundation. I use Maisemore polystyrene nucs which accommodate 6 frames and generally come with a feeder which fits the nuc perfectly.
- Give the nuc a small entrance so that this new small queen-right colony is able to defend itself from robber bees etc.
- Now move the nuc at least 2 metres from the original hive and I often face the entrance towards a hedge or fence, again lessening the work they have to do to defend their home.
- Now, return to the parent hive and remove all sealed queen cells and queen cells with very mature larvae that are unsealed. To check, just put the frame over your head and look up into the open queen cell. You’ll see the white larvae bathing in a pool of milky liquid, i.e. royal jelly.
- Leave the queen cells that have younger, smaller larvae.
- Fill up the brood box with frames of new or drawn foundation, keeping the original frames together. Otherwise, they’ll build brace comb everywhere (this is the same structured comb that they would build in the wild). Trying to clean up brace comb is a painfully messy affair!
NOW WE HAVE 2 COLONIES
One nuc – with the old queen
Original hive – which is queenless
SO WHAT NOW??
- The following day have a peep into the nuc to ensure that they appear okay and have enough bees to cover the emerging brood. You might want to give them a little feed of syrup.
- Now for a really IMPORTANT POINT: 7-8 days later open the parent hive. Examine all the brood frames very, very carefully. You will see original queen cells that were left and you might see emergency queen cells that they have built. Remember that this colony knows it’s queenless and will do anything possible to rectify the situation.
- After examining all the frames, select one queen cell which looks like a nice healthy peanut and should have ‘dimples’ on the surface. Be gentle, do not shake the frame and definitely don’t touch this queen cell. Then shake all the bees off the remaining frames and remove ALL remaining queen cells, i.e. sealed, unsealed and emergency queen cells. Check thoroughly! Bees love making a fool of the beekeeper and can put queen cells in ‘hide and seek’ positions.
- Close the hive. I return in about a fortnight and do a really quick inspection. I’m literally only checking to see if the new queen ,who should have emerged and been mated, has started to lay.
- Check again in another few days.
YOU’VE STOPPED THE SWARMING URGE FOR NOW AND YOU’VE ALSO INCREASED YOUR COLONY NUMBERS.
Reading is very important to keep things fresh in your mind and helps your confidence on inspections. I always recommend that beekeepers should ‘buddy up’, particularly when they are in their first few years of the wonderful practice of apiculture.
Coming Up – April Meeting in Ballydehob
We’re delighted to announce that our next meeting will be held in the Ballydehob Community Centre on Wednesday 18 May, commencing at 7.30 pm. I will be doing the presentation and hope to cover the beekeeping jobs for May and June and stressing the importance of the Hooper 5 checklist.
Regards and happy beekeeping,
Mairead Love & the team at FABKA