These are the golden days and the pay off for the hours and hours of learning, caring, feeding and treating through the season.
If you are reading this in January it’s a bit like unwrapping your new toy/gadget and trying to use it without following the instructions! So take your time and prepare thoughtfully and well.
Getting Ready
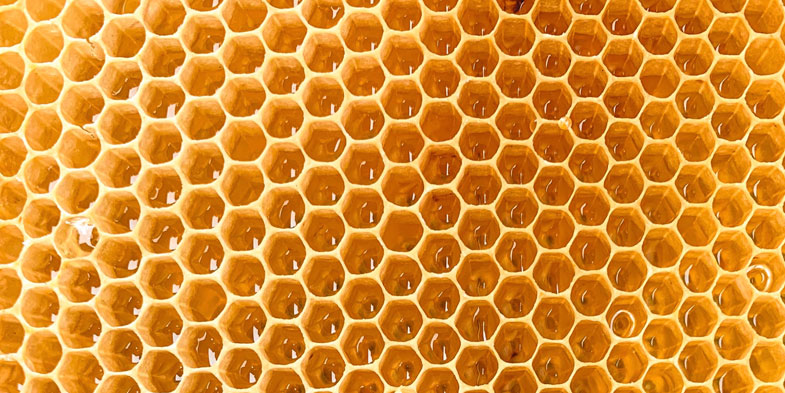
Getting ready for harvesting your honey crop means hive inspection first to be sure at least 90% of the stored honey is capped with a clean white wax, because if you extract in haste the uncapped honey will have excess water and lead to fermentation at worst or tainting at least — so be patient and leave the bees to do their job.
Buy/Borrow/Hire an Extractor
Now is the moment when you arrange to hire/borrow or buy an extractor of which there are a few, but if you only have a small quantity you can drain your honey or use it directly from the comb. Draining is a slow option but doable and hiring an extractor from your association is the most common in your early years. Get it secured from them in good time. If it is the case that many other association members have booked the extractor before you, then put on another super for the bees to continue storing while you are waiting for your turn to get use of the extractor. Bees must always have spare storage space on top. Why give up if the sweetshop is still open?
Clearing Bees from the Supers
Once you know the honey is ripe for harvesting, mark your hive numbers on the supers and get your cleaned clearing/escape board(s) ready and place under the full, capped supers and above the brood box. A clearing board allows bees to leave the super(s) and go back down into the brood box, but discourages them from going back up into the super. In this way, you can minimise the number of bees in your supers when you go to take them for harvesting.
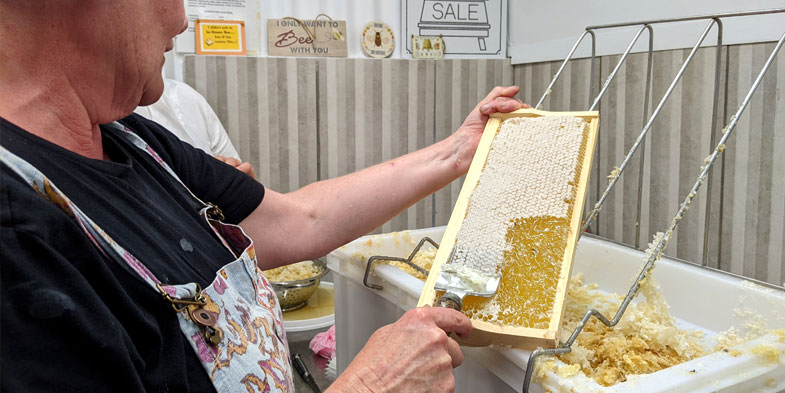
Uncapping & Extracting
Next, get your uncapping fork/knife and uncapping tray, bowl or bucket/basin sorted, and not forgetting the all-important settling tank — a food-grade bucket does well. However, it is so very important to practice good hygienic behaviour.
Make very sure there is no source of strong smells or smoke, etc, near or in the immediate vicinity of fresh raw honey, because honey is susceptible and can be tainted by all of these pollutions.
Now get your workplace and equipment spotlessly cleaned and cleaned again, because honey is a food product and food hygiene regulations apply. You don’t have to have a specially built extracting area, as you can improvise. Warning to beekeepers doing the honey extracting in the house: ensure you leave the kitchen in immaculate condition as the extracting process is a messy procedure and could lead to a bit of familial disharmony! Make a temporary, clean envelope with new clean plastic and pin/stick it up around in your working area in the kitchen as a temporary cleanroom. Small quantities equal small spaces.
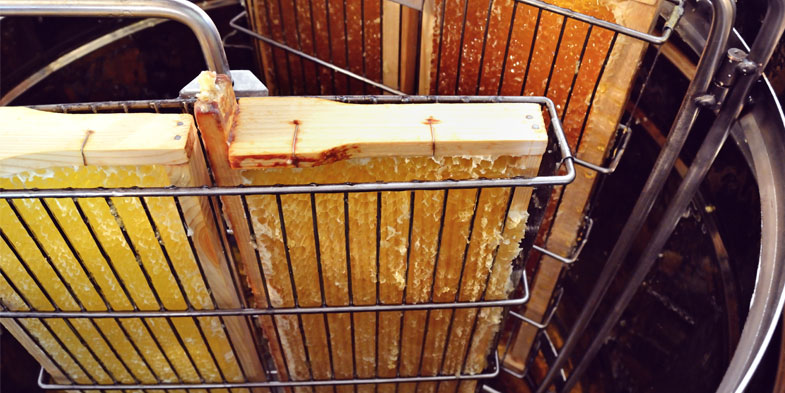
Honey extracting can be messy and slow to clean up, so it’s handy to have paper, oilcloth, or like on the floor where you put down your boxes for extracting and leave a box space beside the full stack for the emptied stack because once your frames are spun and emptied put them back in their own boxes preferably.
Straining & Storing Honey
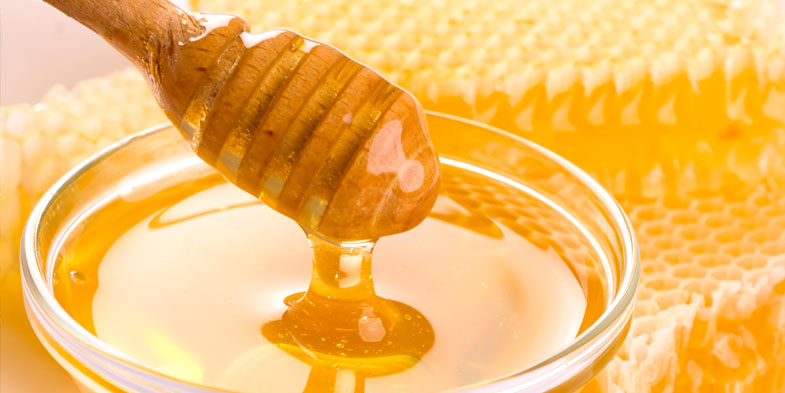
Storage of the honey will generally require that you strain most of the big bits out when extracting using a biggish mesh kitchen strainer first and leaving the honey to settle in the clean food-grade bucket. You can re-strain later using one or several layers of muslin cloth or any of the strainers on the market. Of course, you can eat the honey without any straining if that is your preference but should you decide to sell some, there are many regulations to adhere to. Another day’s work!
Now is a good time to sort the jars and lids for shelf storage or gifting etc. Jars must be sterile, dry and preferably warm when you are filling them after the extracted honey has settled for a while, like overnight if you are in a mad hurry, but a day or week is fine once the honey is stored in a sealed container. Once the honey has settled then heating it gently below 37º will greatly assist but do not use direct heat.
Cleaning & Storing Frames & Supers
After extracting the extracted frames can be given back to the bees quickly for them to clean and refill, hopefully. They can also be put into storage for next year ‘wet, which discourages wax moths, which will otherwise make a mess of your drawn combs. When storing supers, you should put newspaper or similar between the boxes and cover the top and bottom boxes very carefully to keep out unwanted visitors like wasps, spiders, moths, and rodents.
Sweet dreams! The harvest is in and you and your family can enjoy 100% pure honey direct from your bees for the rest of the year in the certain knowledge that the product has not been tampered with. Why not consider exhibiting a jar or two in a local honey show? Because that will really focus your attention to detail, and extra knowledge is no great burden!!